How to schedule an AWS Lambda function
Efficiently and easily automating tasks and pieces of code is super important for those that want to stay productive. I'm a huge fan of scheduling my workloads so I don't need to look after tedious and repetitive tasks. Thanks to Amazon EventBridge (a.k.a. CloudWatch events) we can easily create rules for our Lambda functions and schedule them whenever we want. In this blog post we will take a look at how to do that!
What is AWS Lambda?
AWS Lambda is probably the oldest and most popular serverless service out there. It allows you to focus on your code rather than having to take care of provisioning and maintaining (virtual) machines. It removes the need for such traditional compute services and therefore also reducing the complexity and operation cost. Lambda functions have their limitations but are great for small pieces of isolated tasks. They are great for serverless websites, real time data transformation, web authentication, chatbots, IoT workloads and a whole lot more. One of the things I like to do with it is schedule my tasks.
How to schedule a Lambda function?
The word 'serverless' already says it, there is no server! Well, actually there is but you don't have to manage it. What this means is that you are only paying for the times that you actually invoke/use your Lambda function. That is revolutionary in comparison with the traditional computing services where you pay constantly, even when you're not using your machine! This makes scheduling even more attractive. Let's see how to do that. We're going to do the following:
- Create a Lambda Function
- Setup a rule in Amazon EventBridge
- See our function being executed every N seconds (minutes or hours etc)
Almost sounds too simple right? It definitely is super easy to setup!
1. Create Lambda Function
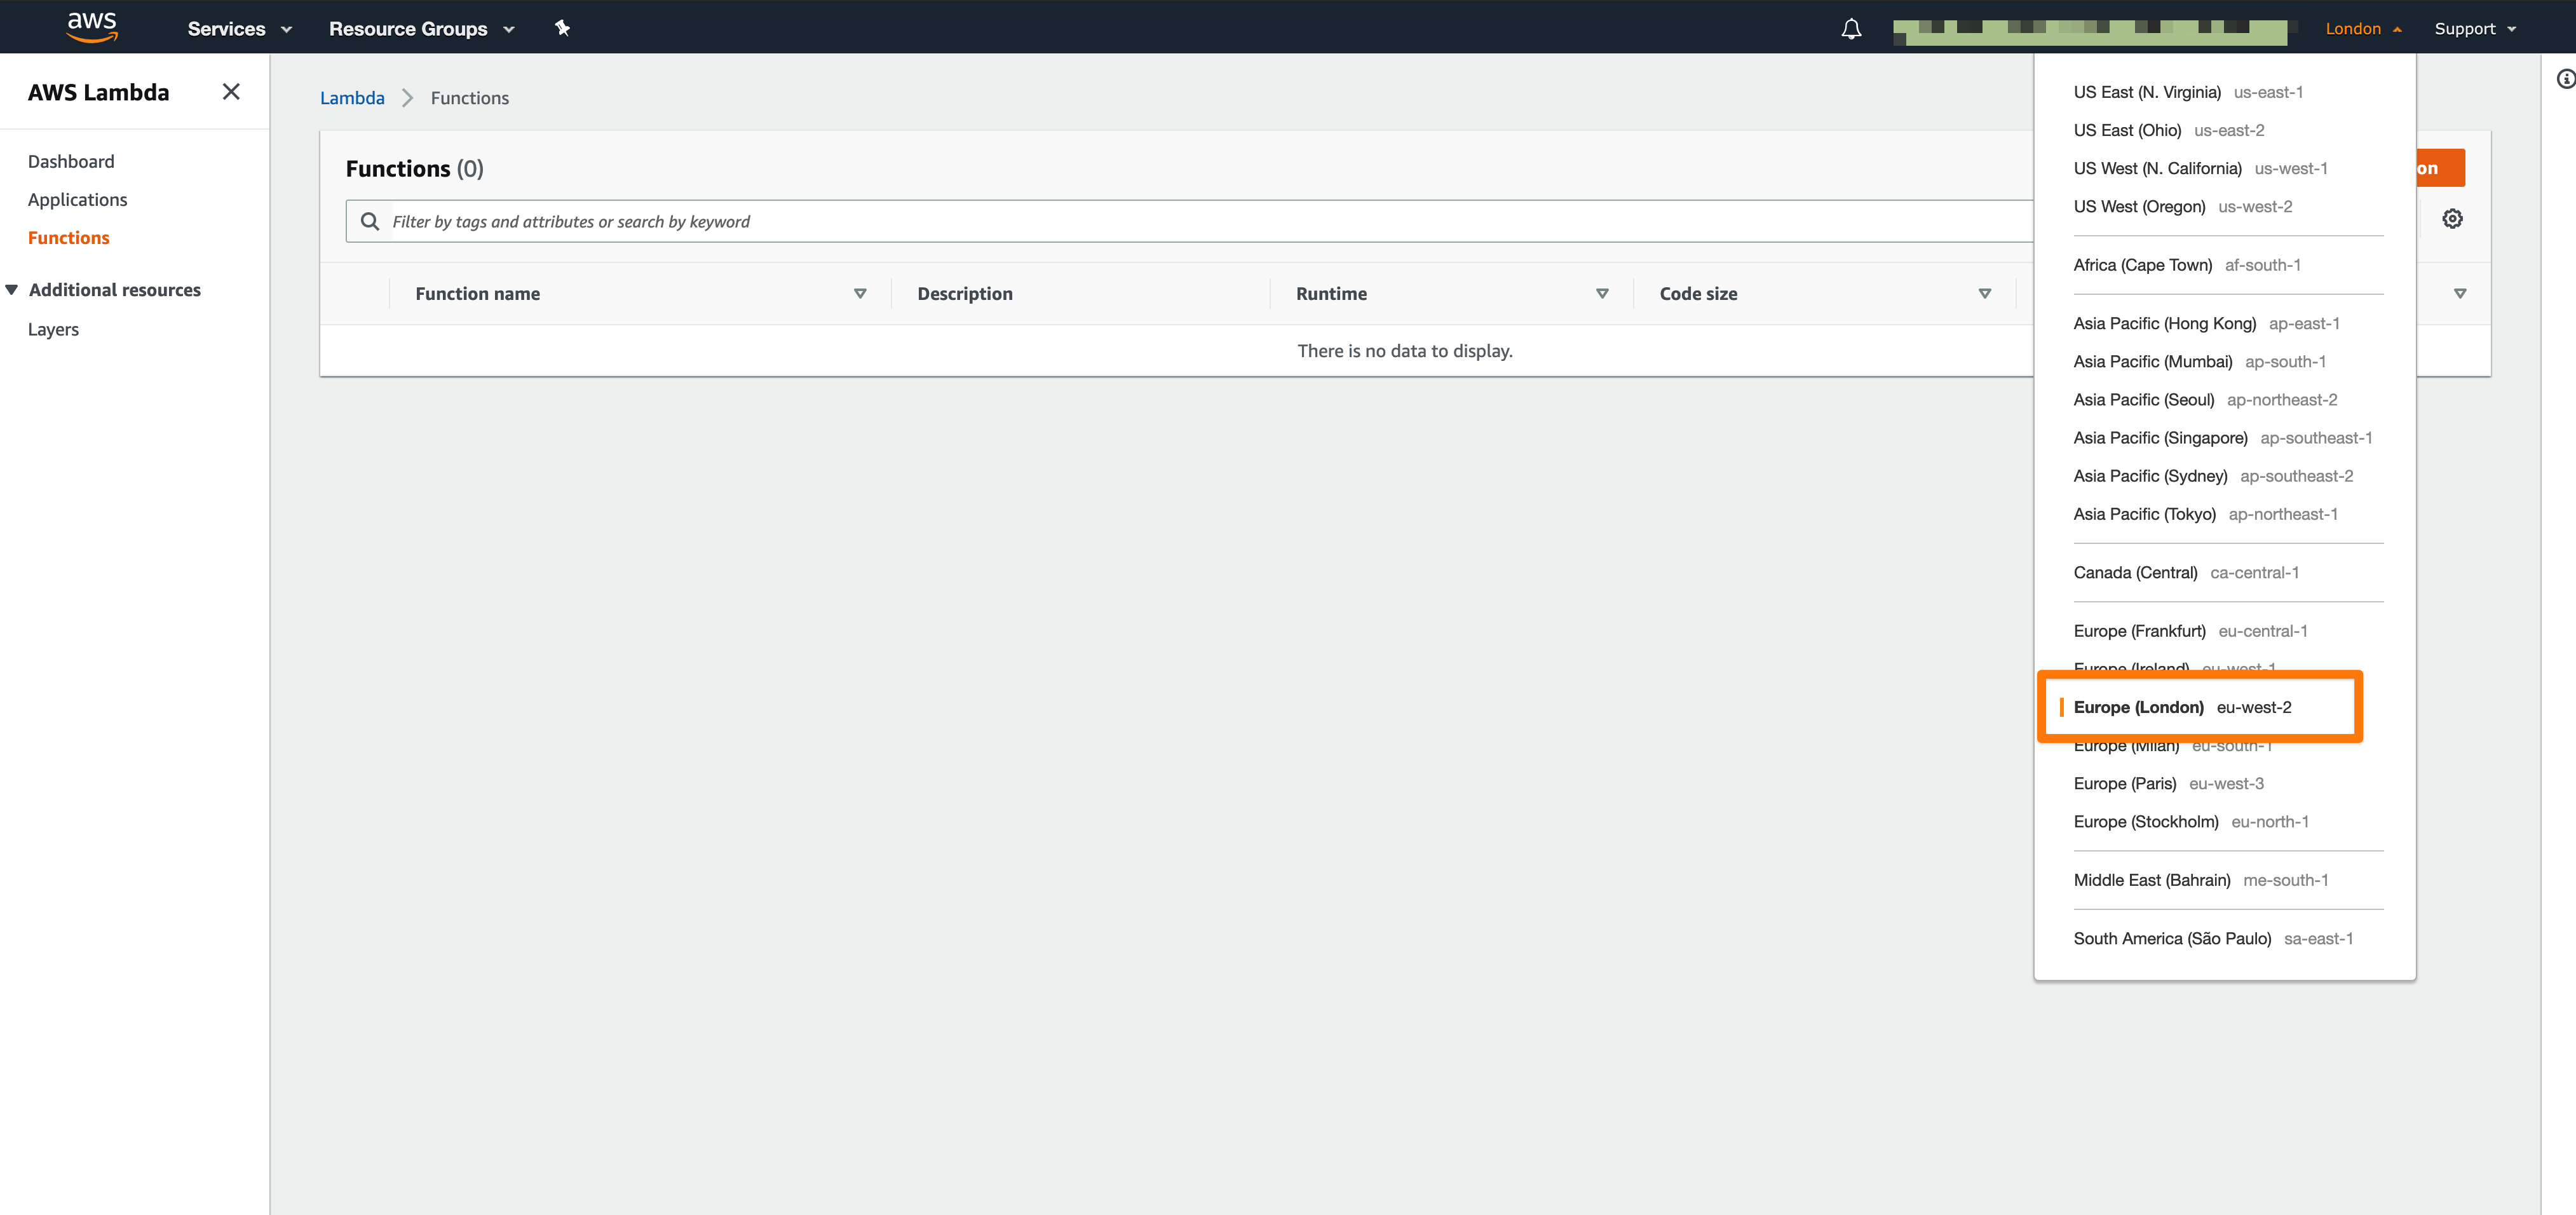
The quickest way to create a simple Lambda function is to do this through the AWS Console. When you have more complex applications I would move to the Serverless Framework. First rule of using AWS, check which region you are in! I'm using London but you can choose any in which Lambda is supported.
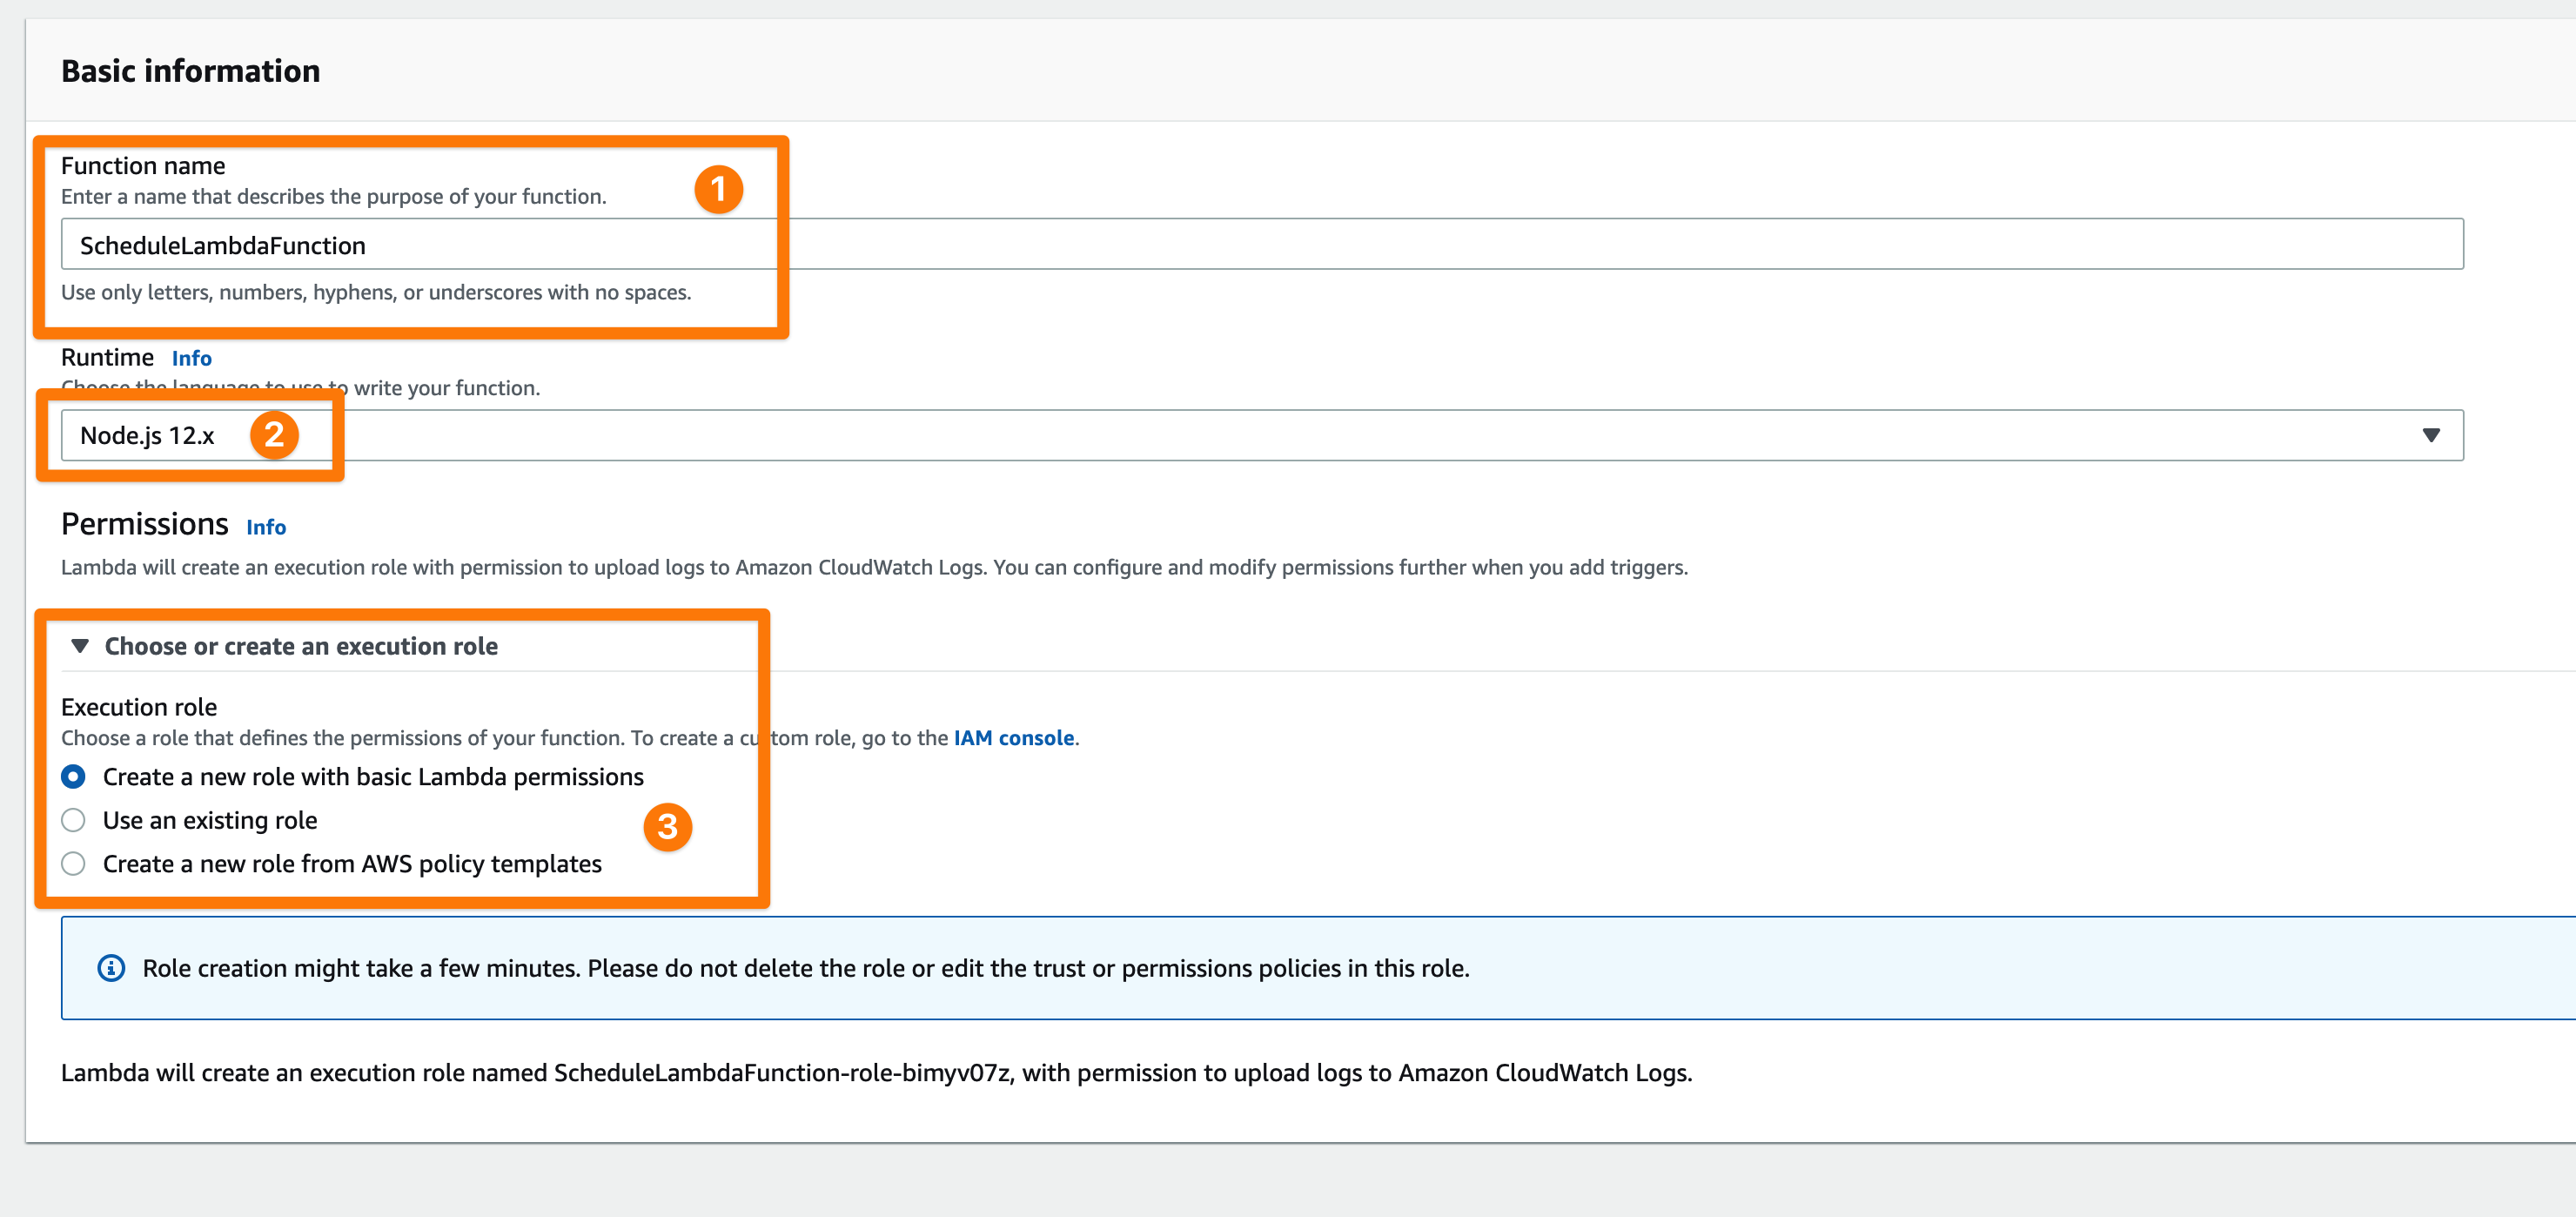
Next step is to create a function and give it a name. I called mine 'ScheduleLambdaFunction', but you can call this anything (1). After this you need to select a runtime (2). I'm most familiar with JavaScript so I'm using NodeJS but you can select any of the runtimes (Python, Java, Go etc). Last thing you need to do is create or select an execution role that has the correct permissions to execute the Lambda function (3). I'm going to create a new one.
When your function has been created you can write your code in the integrated code editor. For this tutorial it's not very important what the code does so I'm just going to log the current date and time. If you're following along you can copy the code below.
exports.handler = async (event) => {
  const response = {
statusCode: 200,
body: JSON.stringify(This fuction ran at ${new Date(Date.now())}),
  };
  console.log(response);
  return response;
};
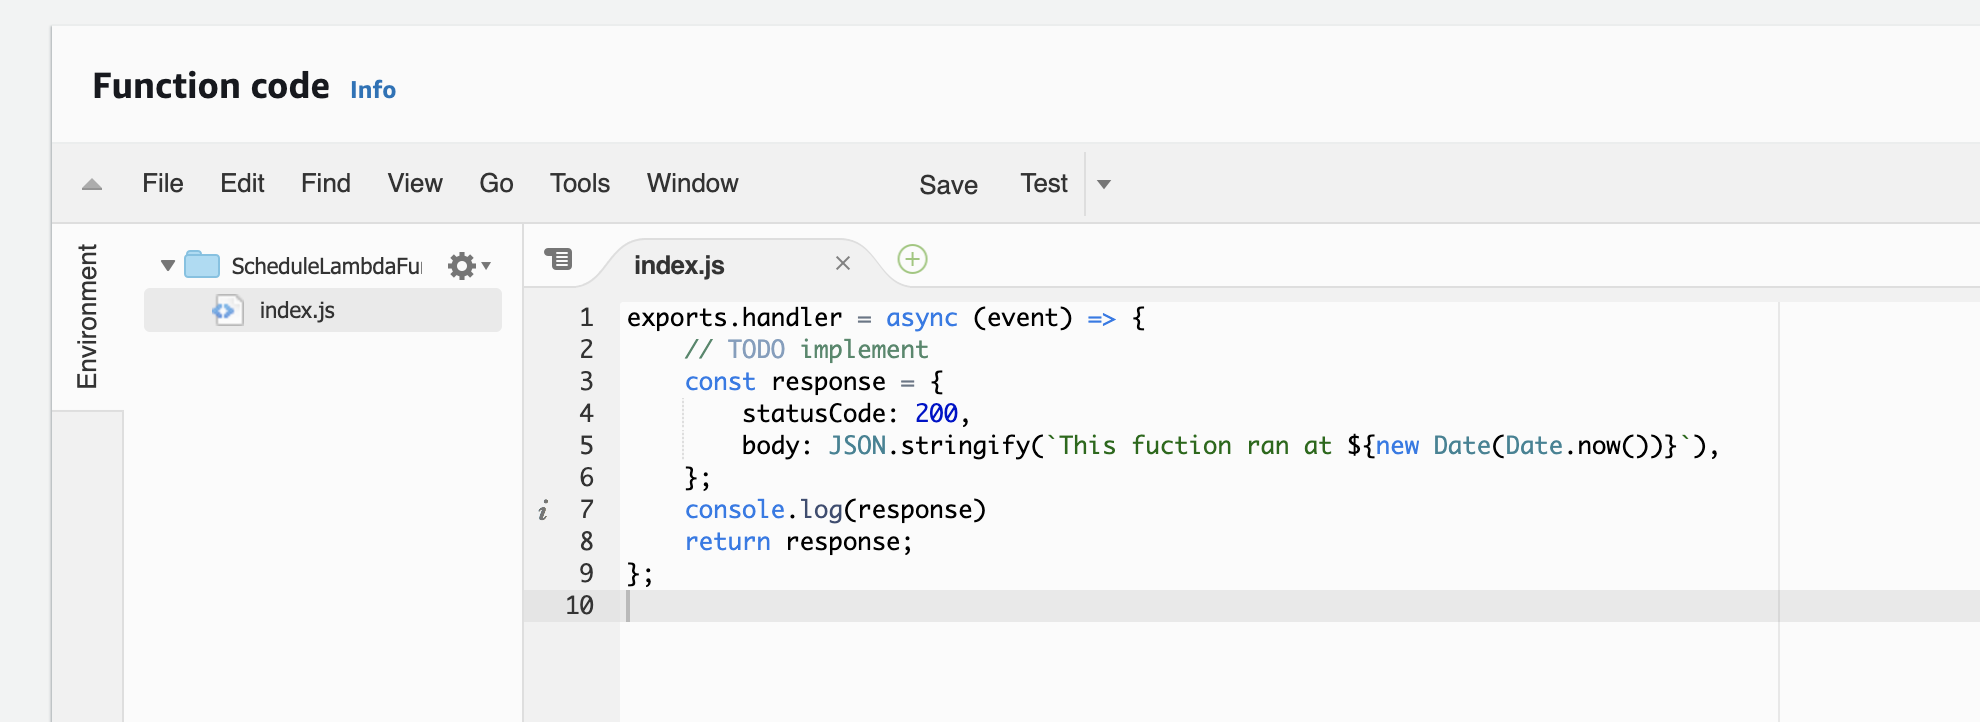
Make sure you hit save when you've edited the code!
2. Setup a rule in Amazon EventBridge
Once the function has been created and you've modified the code you need to setup a rule in EventBridge. Go back to the console and navigate to 'Amazon EventBridge'. You can also do the exact same process of scheduling your Lambda function in CloudWatch 'events' but the easiest is to do this in EventBridge. Under the hood these two services use exactly the same API. The main difference is that with EventBridge you can also integrate third party SaaS application such a ZenDesk, DataDog and Shopify.
The setup of these rules is fairly straightforward. You need to create a rule (1), define a pattern and select an event bus (2) assign it a target (our Lambda function) (3). You can configure the schedule to run either by using a human readable format or using CRON. CRON gives you a lot more flexibility and there is no need to learn how CRON expressions are actually written. Head over to Crontab.guru to configure your own schedule expressions and copy paste them into the AWS console. For this tutorial I choose to run the event every 1 minute.
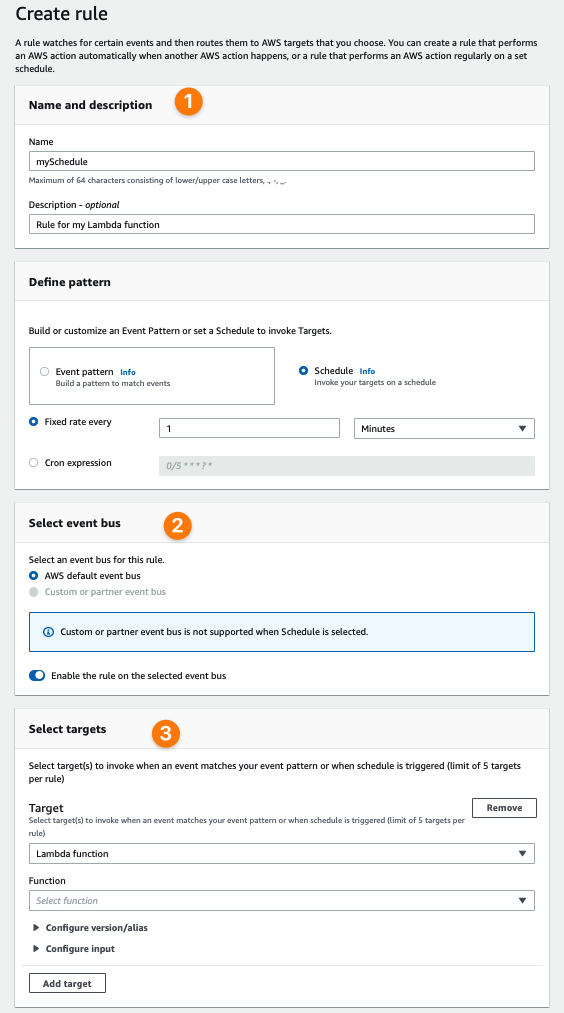
You can optionally give your schedule a description and add some tags. Hit 'Create' after and your scheduled Lambda function has been created! Pretty easy right?
3. Check the logs to see if function executed successfully
Now all the hard work has been done and you can head over to the CloudWatch logs to see your function results. You should see that the function gets executed every minute.
In conclusion
In this blog post we created and scheduled a very simple Lambda function. It actually only logs out the current date and time. Not super exciting. But you can do so much more! If you head back into your Lambda function console you can see that there are lots of triggers and destinations. You could for example do some web scraping to extract information from a website and then load and save the results in an S3 bucket. Another use case would be to create a Twitter bot that tweets something at fixed times. There are so many options and I'm really keen to understand what you would do with scheduled Lambda. Let me know in the comments below or hit me up on Twitter!