How to create a user snippet in VS Code
I write all my blog posts in markdown in VS Code. That's because this website is built with Gatsby and this tool makes it extremely easy to create pages with it. What I don't like about writing markdown, especially for a Gatsby blog, is that I have to write frontmatter each time I start writing. Frontmatter is the first section of a blog post and I see it as the metadata about your blog. This can contain anything but generally you have the title of the post, the date and time of writing, a description and a category. The text editor that I use for writing blog posts is VS Code. This editor makes it very easy to create snippets. I have therefore written a quick snippet that scaffolds out the necessary frontmatter for my blogposts. Let's take a look at how I created such a snippet.

What are user snippets in VS Code?
User snippets are a quick way to scaffold out some code or a text. They can save you a lot of time, especially when you have to write the same thing over and over again. I use these a lot when I work in React - I can quickly create a functional component that is exported by using this snippet from the VS Code Marketplace. The only thing I have to type is 'rcfe' and it creates the snippet for me.
How can I create a user snippet?
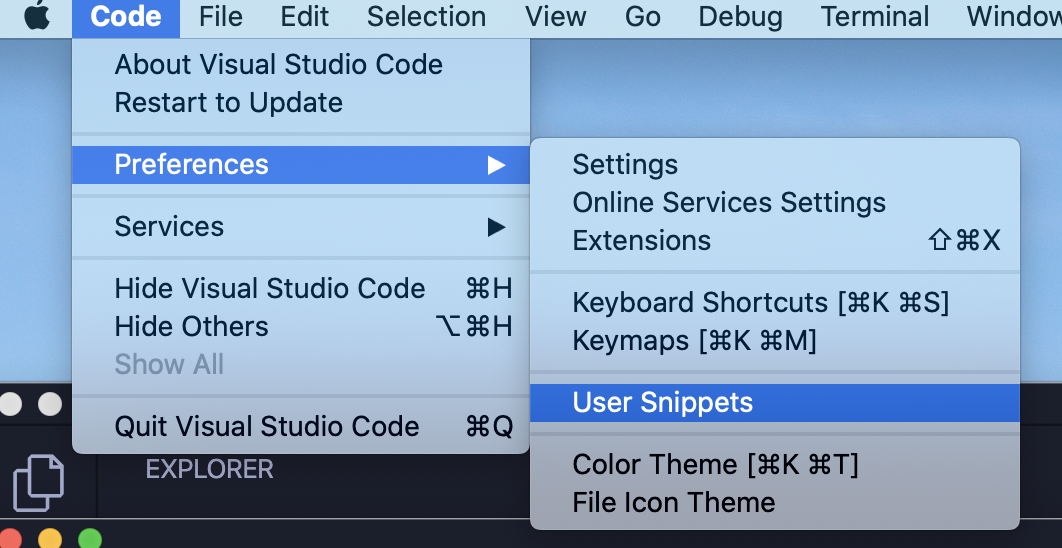
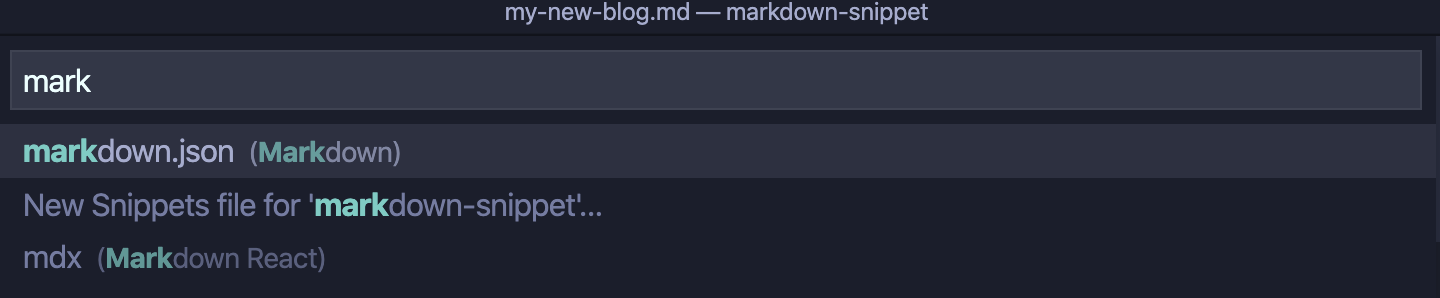
There is some handy documentation which you can find here. I'm using a Mac, which means I have to go to 'Code > Preferences > User Snippets'. VS Code will then ask you if you want to create a 'global' snippet or a file specific one. The global options means that you can use the snippet in any filetype (.js, .md, .mdx etc). You can also limit the snippet to the current workspace you are in. But because I want to use this also for other folders in VS Code I generated one for markdown files.
The next step is to configure the snippet. You have to write it in JSON. The image below shows how I setup the snippet from the animated gif on the top of this page.
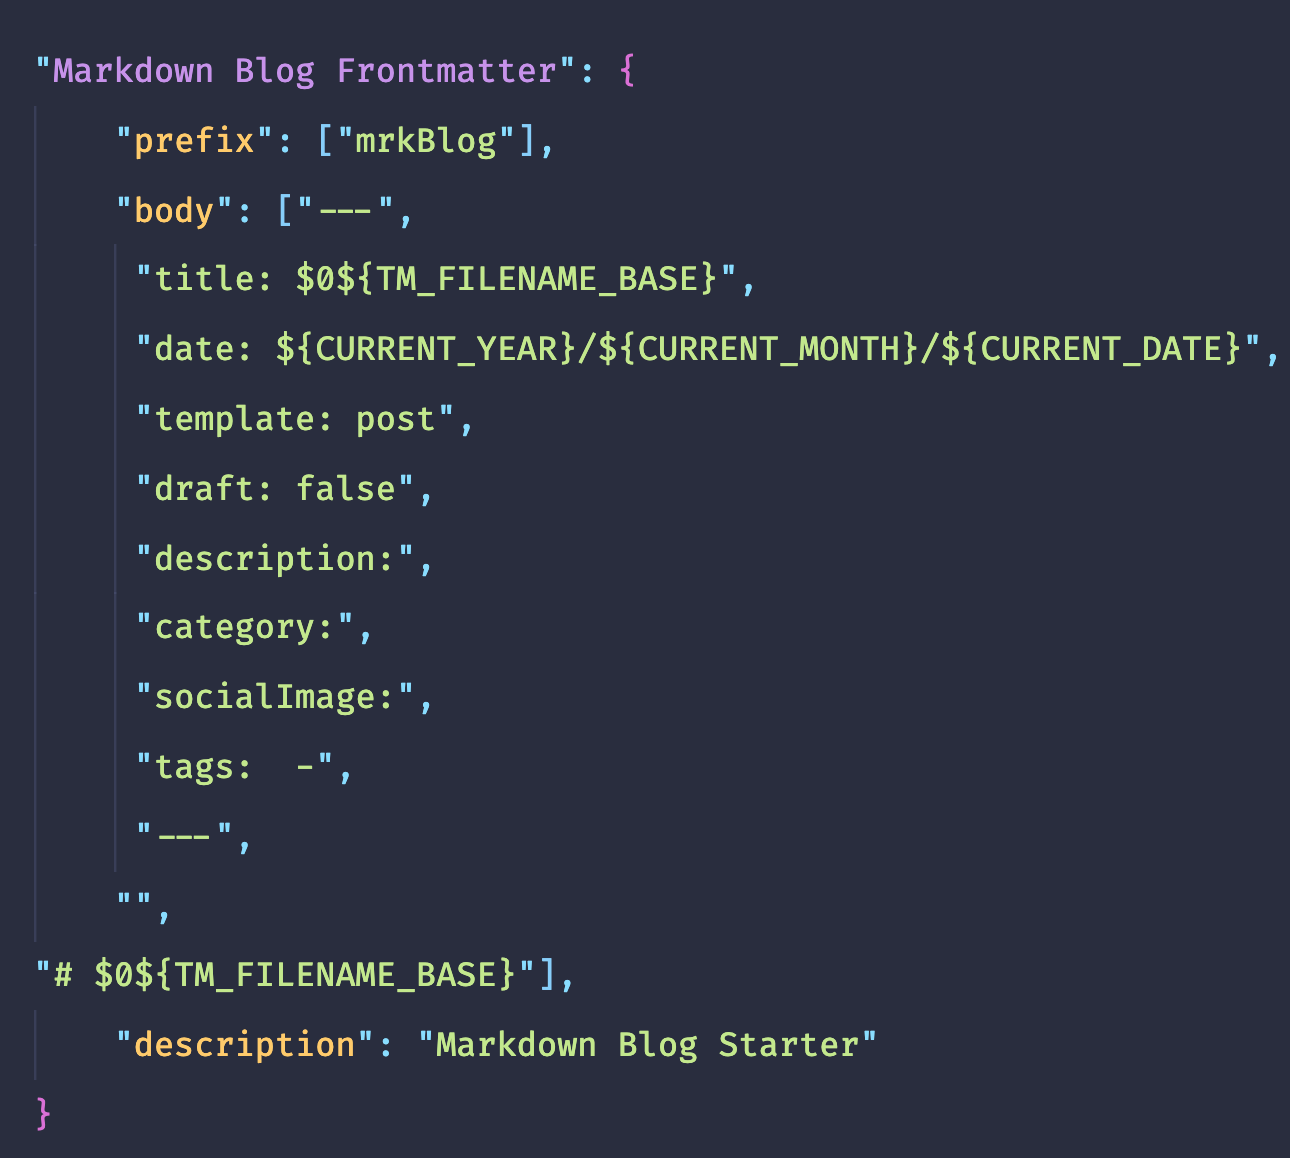
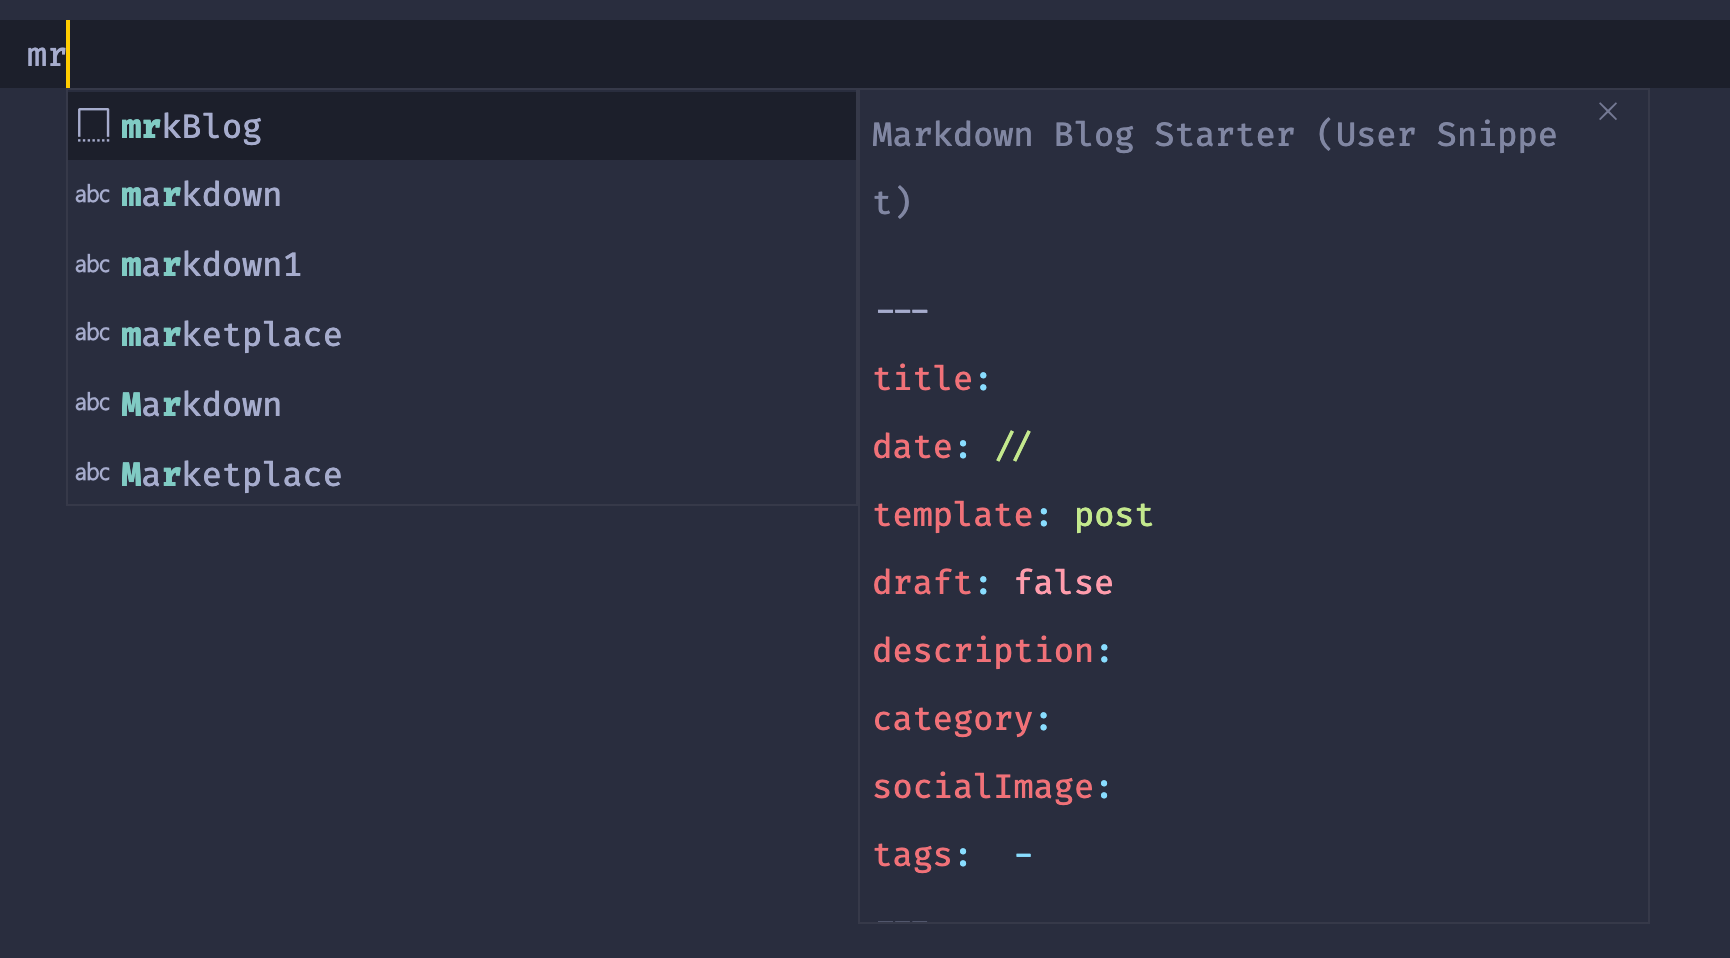
The first things you need to do is give your snippet a name. I called mine 'Markdown Blog Frontmatter'. The prefix is the actual shortcode that you have to write to trigger the creation of the snippet in a markdown file. You can use a prefix by hitting 'Ctrl + Space' on a Mac. This will bring up the IntelliSense window.
The most important part of the snippet goes into the body section. This is the actual text that is going to be placed in the document. You can use a few variables which make it easy to scaffold out some information. In my example I used the filename (without file extension) as the title of the blog. I did the same for the date of the blogpost. This one uses todays date. Another variable that I used is the '$0' - which places the cursor at a particular location. In my example I placed two cursors. One in the frontmatter title section and the other one at the start of the blog post.
You can see a full list of variables that you can use in snippets here. With variables you can do something really cool and useful. You can for example reference environment variables or create popups for user input.
I'm really impressed with the possiblities and how easy it is to setup these snippets. They can be a huge time saver. While browing the VS Code marketplace I found a really handy extension. If you want to turn any text into a snippet you could use this extension.